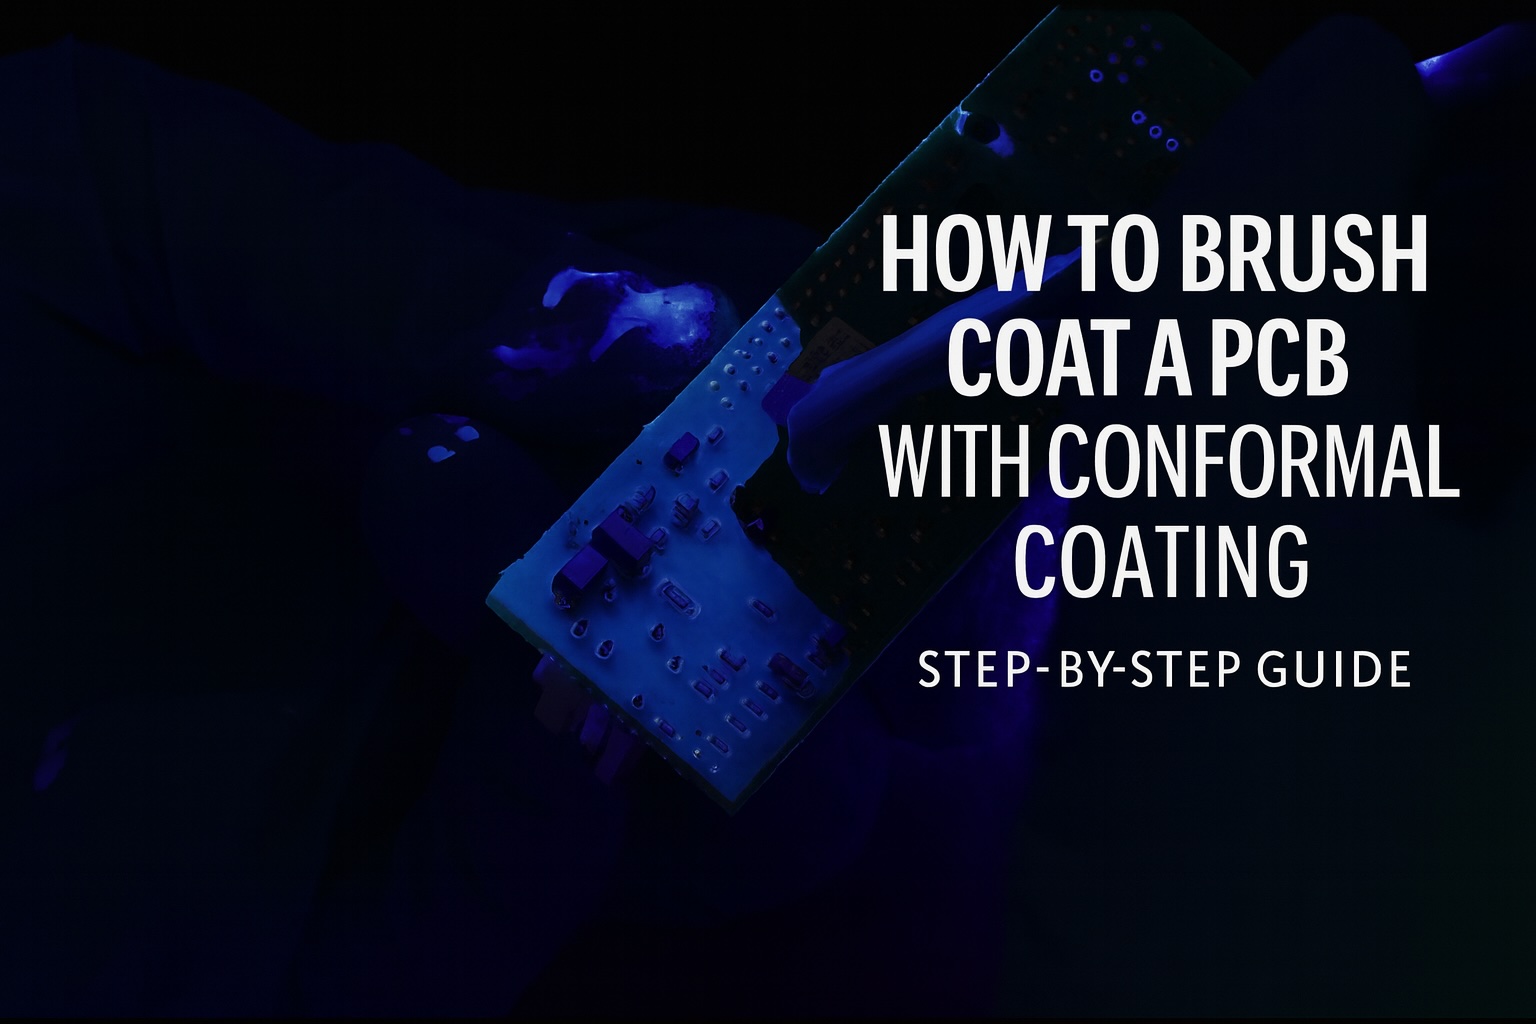
How to Brush Coat a PCB with Conformal Coating | Step-by-Step Guide
Practical method for prototypes, touch-up and low-volume production
Learning how to brush coat a PCB with conformal coating is essential for prototypes, rework and low-to-medium volume builds where automation is not justified.
With the correct brush technique, viscosity control and masking, manual application can deliver reliable protection without heavy film build, runs or contamination into keep-out areas.
Article Quicklinks
| Topic | Jump |
|---|---|
| Tools & materials | 🔗 |
| Step 1: Clean & prepare | 🔗 |
| Step 2: Mask keep-outs | 🔗 |
| Step 3: Viscosity & work area | 🔗 |
| Step 4: Load the brush | 🔗 |
| Step 5: Apply thin coats | 🔗 |
| Edge control & keep-outs | 🔗 |
| Flash-off & cure | 🔗 |
| Inspection & QC | 🔗 |
| Common defects | 🔗 |
| Training & standards | 🔗 |
| Useful links | 🔗 |
1) Tools & Materials You’ll Need
All of the tools below are aligned to the same production approach we use in SCH coating services, and we can advise on the best combination for your chemistry and build type.
- Conformal coating (brush-grade): use per datasheet and your internal process window.
- Soft, anti-static brushes: flat and angled tips; keep dedicated sets per chemistry.
- Clean decanting pots/jars: small working quantities reduce contamination and solvent loss.
- Masking materials: tapes, dots, custom shapes and reusable connector boots/caps.
- Fixtures: stable PCB holders to set the correct angle and prevent handling damage.
- PPE & extraction: gloves, goggles and appropriate ventilation/booth.
- Inspection & thickness: UV/white lighting; wet/dry thickness tools — see thickness measurement.
Need supplies or advice? 📞 +44 (0)1226 249019 ✉️ sales@schservices.com
2) Step 1 – Clean & Prepare the PCB
Coating only adheres to clean, dry surfaces. Remove flux residues, dust, oils and ionic contamination (IPA wipe, DI wash and bake, ultrasonic cleaning, or engineered cleaners) as defined by your process.
- Ensure moisture is fully removed from under components and inside connectors.
- Handle cleaned boards with gloves to avoid fingerprints and skin oils.
- Verify cleanliness against your ionic contamination and visual inspection criteria before coating.
3) Step 2 – Mask Keep-Out Areas
Mask all features that must not be coated: connectors, sockets, switches, test points, gold fingers and other keep-outs.
- Barrier masking: tapes/dots or liquid mask; burnish edges to avoid seepage.
- Shield masking: reusable boots/caps for repeat work; faster and more consistent.
- Brush-direction rule: always brush away from masked edges and into the “coat” area.
Learn more: masking strategies and barrier masking systems.
4) Step 3 – Set Viscosity & Working Area
- Viscosity: confirm within your validated window. Brush-grade is commonly higher viscosity than spray/dip.
- Mixing: stir gently or roll; avoid shaking (bubbles/foam risk).
- Decanting: use a clean pot for a small working quantity; keep the main container closed.
- Board angle: typically 30–60° helps control film and reduces pooling.
- Lighting: white light + 365 nm UV (where applicable) for immediate coverage checks.
Related: Conformal coating viscosity control
5) Step 4 – Load the Brush Correctly
- Light loading: dip only the first third of the bristles.
- Remove excess: wipe lightly on the rim to stabilise the charge and prevent drips.
- Bristle condition: avoid brushes with hardened tips or shedding fibres.
- Dedicated tools: keep brushes separated by chemistry to prevent cross-contamination.
Tip: Replace brushes proactively—fibre inclusions become a hidden defect source.
6) Step 5 – Apply Thin, Even Coats
Technique: use thin, overlapping strokes. Aim for “film placement”, not scrubbing.
- Start with critical areas first (fine pitch, HV, edges), then fill the remainder.
- Brush one direction; if needed, cross-hatch at 90° to level film without dragging it away.
- Avoid re-brushing once the film starts to flash; it can create texture and brush marks.
- Check coverage frequently under UV/white light to catch misses early.
See also: Application Processes Overview.
7) Step 6 – Control Edges, Meniscus & Keep-Outs
- Edges: pull film lightly over edges for wrap-around without heavy build.
- Connectors: brush away from housings to reduce capillary wicking.
- Fine pitch: thin coats and smaller brushes reduce bridging risk.
- Touch-up: use brush coating for controlled repairs after inspection/test.
8) Step 7 – Flash-Off, Build Further Coats & Cure
- Flash-off: allow levelling and solvent evaporation per datasheet between coats.
- Build thickness: several thin layers are safer than one heavy layer.
- Thickness: typical dry film 25–75 µm (but follow your spec).
- Cure: air dry or force-cure per the manufacturer’s profile; do not move boards until tack-free.
9) Inspection & Quality Control
- Visual: confirm coverage and check for fibres/particles from tools.
- UV: use 365 nm UV (if applicable) to find thin areas and shadowing.
- Thickness: validate and verify with appropriate methods — thickness measurement.
- Acceptance: verify against IPC-A-610 acceptance criteria and customer drawing/spec rules.
Explore the Defects Hub for examples of common coating issues.
10) Common Brush Coating Defects and How to Prevent Them
11) Training & Industry Standards
If you need repeatable, audit-ready brush coating processes, formal training helps operators control viscosity, brush technique, masking and inspection. SCH delivers hands-on training in brush coating, masking, inspection and IPC-A-610 / IPC-CC-830 acceptability.
For official acceptance criteria and guidance, refer to the IPC standards:
- IPC-A-610 – Acceptability of Electronic Assemblies
- IPC-CC-830 – Qualification & Performance of Conformal Coatings
To discuss training or a validation plan for your team, contact us here.
12) Useful Links & Next Steps
- Process control: Viscosity in Process Control
- Thickness measurement: Wet, Dry & Optical Methods
- Masking fundamentals: Masking strategies • Barrier masking
- Defect library: Defects Hub
- Removal & rework: Rework Hub
Why Choose SCH Services?
Partnering with SCH Services means more than just outsourcing — you gain a complete, integrated platform for Conformal Coating, Parylene & ProShieldESD Solutions, alongside equipment, materials, and training, all backed by decades of hands on expertise.
- ✈️ 25+ Years of Expertise – Specialists in coating technologies trusted worldwide.
- 🛠️ End-to-End Support – Coating selection, masking, inspection and process validation.
- 📈 Scalable Solutions – From prototypes to high-volume production.
- 🌍 Global Reach – Responsive support across Europe, North America and Asia.
- ✅ Proven Reliability – Built on quality, consistency and customer satisfaction.
📞 Call: +44 (0)1226 249019
✉ Email: sales@schservices.com
💬 Contact Us ›