Masking Removal & Verification After Conformal Coating
Clean Removal, Clean Edges, and No Inspection Surprises
Masking is not finished when coating is applied. In conformal coating operations, a large proportion of “mystery defects” are created during masking removal or missed during post-removal verification.
This guide explains how to remove masking materials cleanly (tapes, dots, shapes, and boots) and how to verify that keep-out areas and boundaries meet inspection expectations: no residue, no leakage, no lifting, and no damage.
For selection and application discipline, see: Masking Material Selection and Masking Application Best Practices.
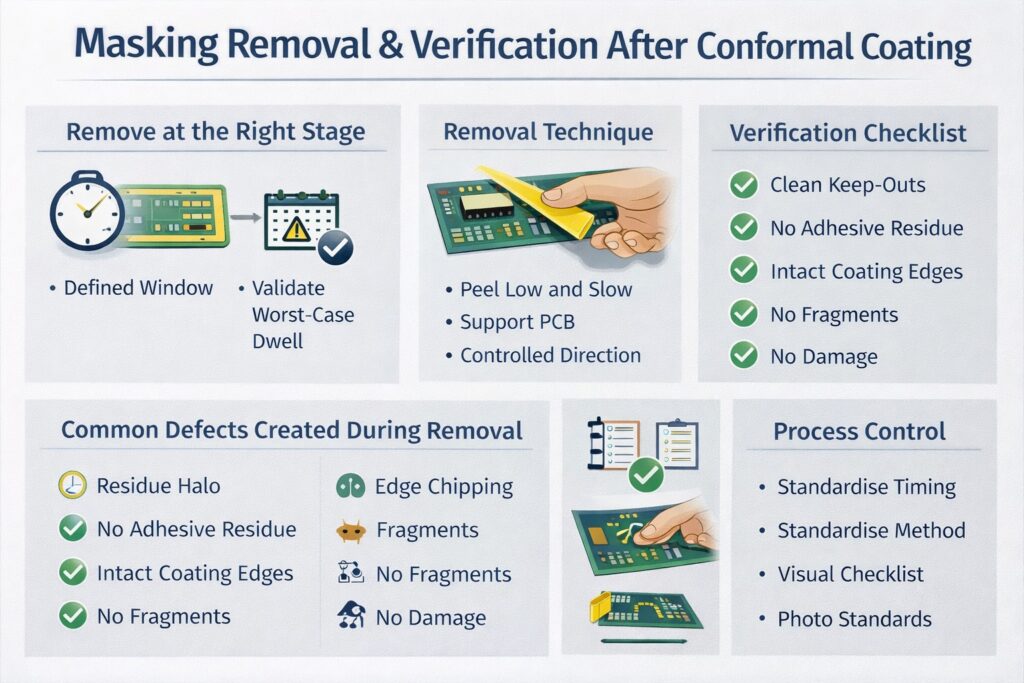
Checklist for clean masking removal and verification after conformal coating to prevent residue, leakage, and edge damage.
When to Remove Masking After Conformal Coating
Removal timing is a process decision. Remove too early and you can disturb the coating edge; remove too late and you increase the risk of tearing, residue, or edge chipping.
Control the removal window
- Define the removal stage in your work instruction (after coat, after flash-off, after cure, etc.).
- Validate at worst-case dwell time (long queue times behave differently than ideal conditions).
- Be consistent — variability in timing creates variability in edges and residue risk.
If removal difficulty changes dramatically across shifts or batches, the process window is not controlled.
Removal Technique That Protects Coating Edges
Masking removal should be treated as a controlled step. Poor technique can convert a good coating result into rework immediately.
Best-practice removal method
- Peel low and slow — pull back on itself rather than upwards, to protect coating edges.
- Support the assembly — avoid flexing PCBs while peeling.
- Remove in a controlled direction — plan peel direction so you do not drag debris across keep-out areas.
- Do not “snap” tape — snapping increases edge damage and leaves fragments behind.
Material-specific notes
- Silicone-free paper masking tape (controlled rubber adhesive): remove with steady peel to avoid tearing; inspect edges for micro-fragments.
- Dots and pre-cut shapes: lift cleanly using peel tabs or a controlled pick method; avoid scraping edges.
- Reusable boots/caps: remove straight-off where possible; confirm no partial seating caused ingress before removal.
Avoid solvents as a normal removal method. If you need solvent to remove masking, the masking system or timing is wrong and is likely introducing contamination risk.
Verification Checklist After Masking Removal
Post-removal verification prevents inspection escapes. It should be quick, repeatable, and based on defined accept/reject criteria.
Verify these points every time
- Keep-out areas are clean — no coating haze, overspray, misting, or partial coverage.
- No adhesive residue — no tacky feel, smearing, or contamination film near boundaries.
- Edges are intact — no edge lifting, chipping, or ragged boundaries.
- No leakage paths — no capillary creep under former mask edges.
- No fragments left behind — no tape fibres, dot remnants, or boot debris.
- No removal damage — pads, solder joints, plastics, and labels undamaged.
Where defects are common, add a simple photo standard to your work instruction showing pass/fail examples.
Common Defects Created During Masking Removal
Many defects that appear to be “coating problems” are actually removal or verification problems.
- Residue halos around keep-outs → leads to localised de-wetting or adhesion issues.
- Edge lift / chipped boundaries → caused by aggressive peel angle or cured edge brittleness.
- Mask fragments left behind → become contamination or create inspection rejects.
- Leakage revealed after removal → indicates poor sealing, geometry, or inconsistent application pressure.
For the wider defect mechanism and prevention approach, see: Why Masking Causes Most Conformal Coating Defects.
Process Control: Make Removal Repeatable
If removal outcomes vary, you do not have a stable masking process. Control comes from standardisation.
What to standardise
- Removal timing (defined window, validated at worst-case dwell)
- Removal method (peel angle, direction, tool use)
- Verification checks (short checklist + visual pass/fail examples)
- Escalation rules (what to do when residue/leakage is found)
Removal and verification should be treated as a controlled step — because it directly affects yield, rework, and reliability.